How to Set Up a Charging Station for All Your Devices
Setting up a dedicated charging station for your devices is a simple way to keep your gadgets organized, fully powered, and easy to access. Whether you have smartphones, tablets, smartwatches, or other electronics, a charging station helps reduce clutter and chargers scattered around your home or office. In this guide, we’ll walk you through the steps to create a neat, functional charging station tailored to your needs.
Why Create a Charging Station?
Before diving into the setup, it’s helpful to understand the benefits of having a designated charging area:
– Keeps devices organized in one spot
– Prevents tangled cables and misplaced chargers
– Saves space on desks, counters, or nightstands
– Makes charging easier and more efficient
– Enhances the look of your space by reducing clutter
With these advantages in mind, let’s explore how to build your own charging station.
Step 1: Choose the Location
The first step is to find the right spot for your charging station. Consider these factors:
– Accessibility: Pick a central, easy-to-reach location frequented by your device users. Common spots include the living room, kitchen counter, bedroom nightstand, or home office desk.
– Power availability: Ensure there are electrical outlets nearby to plug in chargers or a power strip.
– Safety: Avoid areas exposed to water or heat, and keep the station away from heavy foot traffic to prevent tripping over cables.
Once you pick the place, clear the surface or shelf where your charging station will live.
Step 2: Gather Your Supplies
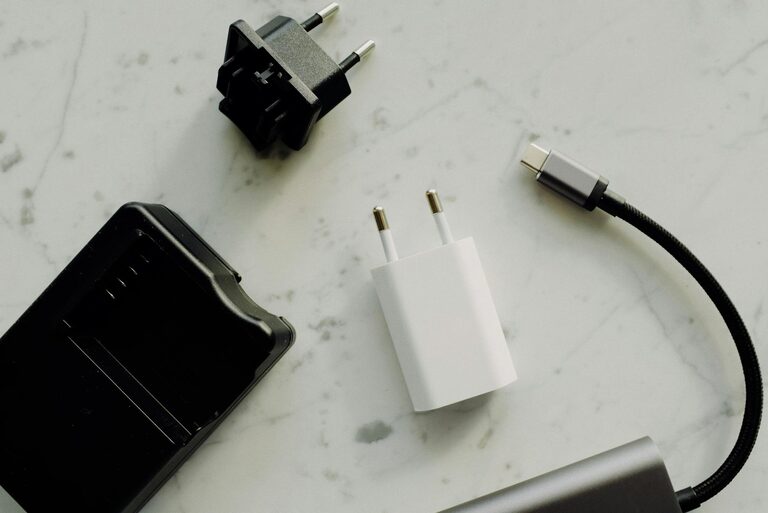
Next, collect everything you’ll need to build the station. Here’s a basic list:
– Power strip or charging hub: A multi-outlet power strip or a USB charging hub with multiple ports allows you to charge several devices simultaneously. Look for one with built-in surge protection for safety.
– Charging cables: Collect chargers compatible with all your devices. Consider investing in extra-long cables for flexibility.
– Organizer or container: Use a tray, basket, drawer organizer, or a dedicated charging dock to keep devices and cables in place.
– Cable management accessories: Cable clips, Velcro ties, or sleeves help keep wires neat and tangle-free.
– Labels (optional): Labeling charging cables or slots can help users know which device plugs where.
Feel free to customize your charging station with additional items like small shelves, decorative boxes, or stands for better aesthetics and usability.
Step 3: Design the Layout
Plan how you want to arrange devices and cables. Consider the number of items you need to charge regularly and how to minimize cable overlaps. Here are a few tips:
– Position the power strip or hub so cables can easily reach the devices.
– Use cable clips or adhesive ties to secure cords along the back or underside of shelves or desks.
– Arrange devices vertically if possible to save surface space using stands or docks.
– Leave enough space for device ventilation to avoid overheating during charging.
Planning the layout carefully makes your charging station clean and user-friendly.
Step 4: Set Up Power and Connect Devices
Now, plug your power strip or USB charging hub into the outlet. Arrange the charging cables and connect them to the hub.
Then, place each device on the organizer or charging dock and connect them to the chargers. Check that devices begin to charge properly and adjust cable placement if needed.
Step 5: Maintain and Update Your Charging Station
A well-maintained charging station stays efficient and organized over time. To keep it in top shape:
– Regularly dust and wipe down the station and cables.
– Replace damaged cables promptly to prevent hazards.
– Unplug chargers when not in use to save energy.
– Upgrade the power strip or charger if you add new devices or run out of ports.
Small upkeep ensures your charging station remains a helpful habit.
Bonus Tips for a Better Charging Station
– Use wireless chargers: Consider adding wireless charging pads for compatible devices to reduce cable clutter even further.
– Organize charging times: Encourage family members to charge devices overnight or during off-hours to avoid power overload.
– Label cords and ports: This helps everyone quickly identify the right cable or port for their device.
– Include a timer or smart plug: Programmable plugs can automatically turn power off to prevent overcharging and save energy.
Creating a stylish and functional charging station is easier than many think — and it greatly improves your daily electronics routine.
—
By following these steps, you can build a neat and effective charging station that keeps your devices ready to go, enhances your space, and minimizes cable chaos. Start by choosing a convenient spot, gather your supplies, plan the layout, and enjoy the convenience of a centralized charging hub for all your gadgets!